Thank You so much for checking out our blog! We have been wanting to do some different things with our blog and have decided that it would be a good idea to move our blog to Traveling Twin Bakers! We would appreciate it if you would jump over there via the link to check out what we have been up to. We are so excited to be able to share our two greatest passions, baking and traveling, through our new blog! Sorry for any inconvenience! We hope you love our new blog just as much as we do. Can't wait to see you there!
Sunday, July 26, 2015
Thursday, July 9, 2015
Chocolate Raspberry Tart
We found this recipe while looking through some cookbooks that we have around the house. It looked so delicious that we went to the store, bought the ingredients that we didn't already have (which wasn't much) and began baking!
The recipe calls for whole milk, we tried making it with almond milk instead so that Georgia could eat more of it (she doesn't eat much dairy), but it turned out pretty gross, it was kind of like snot. So, advice, use the whole milk! Also, it called for dark chocolate, but we decided to go with semi-sweet. This recipe looked delicious and it didn't disappoint! Not only is this good with raspberries, but we also think that it would be good with strawberries on top.
Ingredients:
1 cup all-purpose flour, plus extra for dusting
1/4 cup cocoa powder
7 Tbsp. unsalted butter, chilled and diced
1/4 cup sugar
2 large egg yolks
1/2 tsp vanilla extract
For the filling:
1/2 cup sugar
1/2 cup cornstarch, sifted
2 large eggs, at room temperature
1 tsp. vanilla extract
1 3/4 cup whole milk
6 oz dark chocolate, chopped
14 oz raspberries
Directions:
- Rub the flour, cocoa powder, and butter together until they resemble fine crumbs. Stir in 1/4 cup sugar. Beat the egg yolks with the vanilla and add it to the flour mixture, bringing it together to form a soft dough. Add a little cold water if the mixture seems too stiff. Wrap in plastic wrap and chill for 1 hour
- Preheat the oven to 350F. Roll out the pastry to 1/8 in thickness.Use it to line a 9 in tart pan, leaving an overlapping edge to be removed later. Prick the base all over with a fork.
- Line the pastry with parchment paper and add baking beans. Place on a baking sheet and for 20 min. Remove the beans and paper and return to the oven for 5 minutes more.trim excess pastry
- For the middle, beat together the sugar, cornstarch, eggs, and vanilla. In a pan, bring the milk and 4 oz of the chocolate to a boil, whisking all the time. Take it off the heat just as it starts to bubble up. Pour the milk into the egg mixture, whisking all the time
- Return to the cleaned out pan and bring to a boil over medium heat, whisking. When it thickens, reduce the heat to it low and cook for 2-3 minutes. Turn into a bowl, cover the surface with plastic wrap to prevent a skin from forming and leave to cool.
- Melt the remaining chocolate and brush around the inside of the crust. Leave to set. Beat the cold creme for the middle with a wooden spoon and transfer into the crust. Arrange the raspberries over the top. Remove from the pan.
Note: This is best eaten the same day its made, but will store overnight in the refrigerator.
Monday, July 6, 2015
Zucchini Bread
Now that we are in the apex of summer, we are able to enjoy the bounties of a wonderful garden. Deliciously red tomatoes, cucumbers, green beans, corn, zucchini, and so many other delicious fruits and veggies. Now, we don't have a green thumb (at all), so we didn't grow these things, but our neighbor did, and he was kind enough to let us pick some. So, we made some zucchini bread!
This is a family recipe that our grandma used, and it's been passed down to us.
It's quite a simple recipe, and it's absolutely perfect warm, with butter on it. The recipe for this delicious bread is below. When we made the zucchini bread this time, we skipped the nuts because we didn't have any, but it's delicious both ways! Also, this bread freezes well, so you can make a lot and then freeze it for later!
Ingredients:
3 eggs
2 cups grated zucchini
1/2 tsp. cinnamon
1/2 cup chopped nuts
3/4 cup vegetable oil
1/2 tsp. orange extract
2 1/2 cups flour
1/4 tsp. ginger
1 1/2 cups sugar
1/4 tsp. vanilla
3/4 tsp salt
1 tsp. baking soda
2 tsp. baking powder
Directions:
- Beat eggs. Add oil & sugar, beat well.
- Add flavorings & zucchini, beat well.
- Mix dry ingredients together. Stir in to egg mixture and add nuts, mix well
- Bake in small loaf pans at 350 degrees Fahrenheit for 1 hour.
Saturday, June 27, 2015
Brownies with Coconut Frosting
We are always searching for the perfect brownie recipe. We always try new brownie recipes, always. Brownies are one of our favorite desserts to make, because, well their delicious! Our favorite kinds of brownies are the fudgy ones, kind of like the ones you get from a box mix (but made from scratch!). So, on our quest to find the perfect brownie recipe, we tried a Sally's Baking Addiction recipe, which you can find here. These brownies are certainly one of our favorites now, because their delicious!
When we went to make these we found that we didn't have enough semi-sweet chocolate chips, so we had some unsweetened chocolate that we used to make up the difference. Instead of using plain unsweetened chocolate, we melted it and mixed in some honey to give it a little bit of sweetness. Also, we didn't add the extra chocolate chips at the end because we don't like chocolate chips in our brownies, but if you do like that, then go for it! These brownies are delicious while warm, but we like to keep them in the refrigerator because we think that it makes them even more delicious!
In Sally's blog post, she suggests putting chocolate frosting on the brownies, but we decided to mix it up and put a coconut frosting on, and boy was it the perfect combination! We can't stay out of them they were (we ate them all already!) delicious! To make the coconut frosting, you simply mix together melted Coconut oil and confectioners sugar until you get the consistency you desire. We did a 1 to 2 ratio, 1 Tablespoon coconut oil to 2 Tablespoons of powdered sugar. If you do decide to refrigerate your brownies like we did, then note that your frosting will become really hard, but it is still good and delicious!
What's your favorite brownie recipe? Let us know and we will try it (you can let us know in the comments, on twitter or on instagram @twinbakers96)
Friday, June 19, 2015
Chocolate Chunk Oatmeal Cookies
We stumbled upon this recipe on snapchat. Yes, snapchat! It was on the Food Network Snapchat.
This is an Anne Burrell recipe. We have never tried any of her recipes before, but it was on Snapchat because Taylor Swift had made them and said that the were delicious...
What? Taylor Swift liked them?! That meant that we had to make them! (while listening to Taylor Swift, of course) We didn't have large flake sea salt for garnishing as the recipe called for, but we did use just regular sea salt and they were still delicious. We agree with Taylor, these cookies are good!
You can find the recipe here
Give these cookies a try and let us know what you think!
Monday, June 8, 2015
Graduation Party Cake and Cookies
It's that time of year again, graduation! This year, we got to participate, we graduated high school! Yup, finally!!! So, we thought we would share with you what we had for dessert at our party:
We had cookies, lots and lots of cookies! We made brown sugar cookies, chocolate chip cookies, and no bake cookies. Since we made cookies, we were able to make them ahead of time and freeze them. This allowed us to be able to worry about other things the day of and the day before the party. Our party was on a Saturday, so we took the cookies out of the freezer on Friday, in the morning, and then put them on the trays Friday afternoon. The great thing about freezing cookies, is that you can't tell that they were frozen! They still taste the same as if they were fresh.
We didn't freeze the no bake cookies, because they don't freeze as well as the other cookies, but they are so simple to make, that we easily whipped up a couple of batches Friday morning. We also made some gluten free no bakes (don't worry, we put them on a separate tray). These cookies are extremely easy to make gluten free because all you have to do is use gluten free certified oats!
Now, in addition to the cookies we made, we also had cake. Now, we didn't make our own cake, we ordered it. Again, we did this because we didn't have enough time to make our own cake (and be happy with the result).
We certainly did like the cake, we thought that it was cute and delicious!
We had a little picture station at our party, and we thought you guys would like to see this silly picture of us:
Now, one last thing, Georgia was the Valedictorian of our class (so, obviously she thinks she's the smartest twin). So, we thought we would share a picture of her giving her speech.
Thursday, May 28, 2015
Treacle Tart- from Harry Potter
Fun Fact: Harry Potter is our favorite book series. We can't tell you how many times we have read and re-read it. Our favorite characters are Fred and George (The part where Fred died, almost nearly killed us too!). Growing up with the books and movies was the greatest! No matter how old we grow, Harry Potter will always have a special part in our hearts (It's our goal in life to visit the Harry Potter Wizarding World in Florida & Harry Potter Museum in London). P.S. we know we're nerds :)
So, if you've read Harry Potter, than you know that Treacle Tart is Harry's favorite dessert. If you haven't read it (you should!), than you might not have ever heard of Treacle Tart before. Either way, it is a classical English dessert.
The ingredients, when you first read them, do sound odd and a little unorthodox for a dessert, but don't knock it till you try it, right?
The tart crust for this is absolutely delicious! When we were making it, we couldn't stay out of it. After we made the tart, we had some left over, so we made mini tarts in creme brulee dishes. We made strawberry jam, grape jelly, and chocolate ones. When we made this recipe, we failed to remember to buy lemon juice, so the first time we made it, we didn't put it in there at all (not a good choice). Then, we had some lime juice, so we used that. It definitely wasn't as good as it would have been if we had used lemon juice, but it was still definitely far from horrible. Lesson learned: use lemon juice!
The recipe we used was from The Unofficial Harry Potter Cookbook, which we got from the library, or you can buy it here if you would like.
Ingredients:
- 2 1/2 cups all-purpose flour
- 1 cup confectioners' sugar
- 1/2 teaspoon salt
- 2 sticks cold butter, cut into chunks
- 2 cold large egg yolks
- 1/3 cup cold heavy cream
- 1 teaspoon vanilla extract
- Filling
- 1 cup golden syrup or light molasses or corn syrup
- 2 1/4 cups fresh bread crumbs
- Grated zest and juice of 1 lemon
- 1 egg beaten with 1 tablespoon of water, for brushing the crust
Directions:
- For the crust, place the flour, confectioners' sugar, and salt in the bowl of a food processor and pulse to combine. Scatter the pieces of butter over the mixture. Pulse until the mixture resembles a coarse yellow meal without any white powdery bits remaining, about 20 pulses. Transfer the mixture to a large mixing bowl. Beat the egg yolks with cream and vanilla and pour them into the flour-butter mixture. Toss with a spatula until the dough clumps together. If the dough is too dry, add 1 more tablespoon of heavy cream (better too wet than too dry). Divide the dough in half, form into disks, wrap in plastic wrap, and chill for at least 2 hours or up to 3 days.
- Just before you are ready to roll out the dough, prepare the filling. Warm the golden syrup in a saucepan until it is runny, or microwave it for 1 minute. Combine the golden syrup, breadcrumbs, lemon zest, and lemon juice in a mixing bowl and mix well.
- Preheat the oven to 400°F. Remove the dough from the refrigerator. On a floured surface, roll out the larger disk into an 11-inch circle. Fold it into quarters, brush off excess flour with a pastry brush after each fold, then unfold it into a 9-inch tart pan, easing the sides gently into the pan and pressing the dough down into the fluted edges. Trim the dough even with the rim. Roll out the second disk 1/8-inch thick. Cut the dough into long strips for the lattice topping.
- Scrape the filling into the prepared crust and smooth the top with a rubber spatula. Lay half the strips of dough over the filling in one direction and the other half in the opposite direction to form a lattice. Trim the overhang. Gently brush the beaten egg over the lattice.
- Bake for 10 minutes, then reduce the temperature to 375°F and bake for another 25 minutes until the crust is browned and the filling puffs up in the center. Serve warm with custard or whipped cream.
Tuesday, May 19, 2015
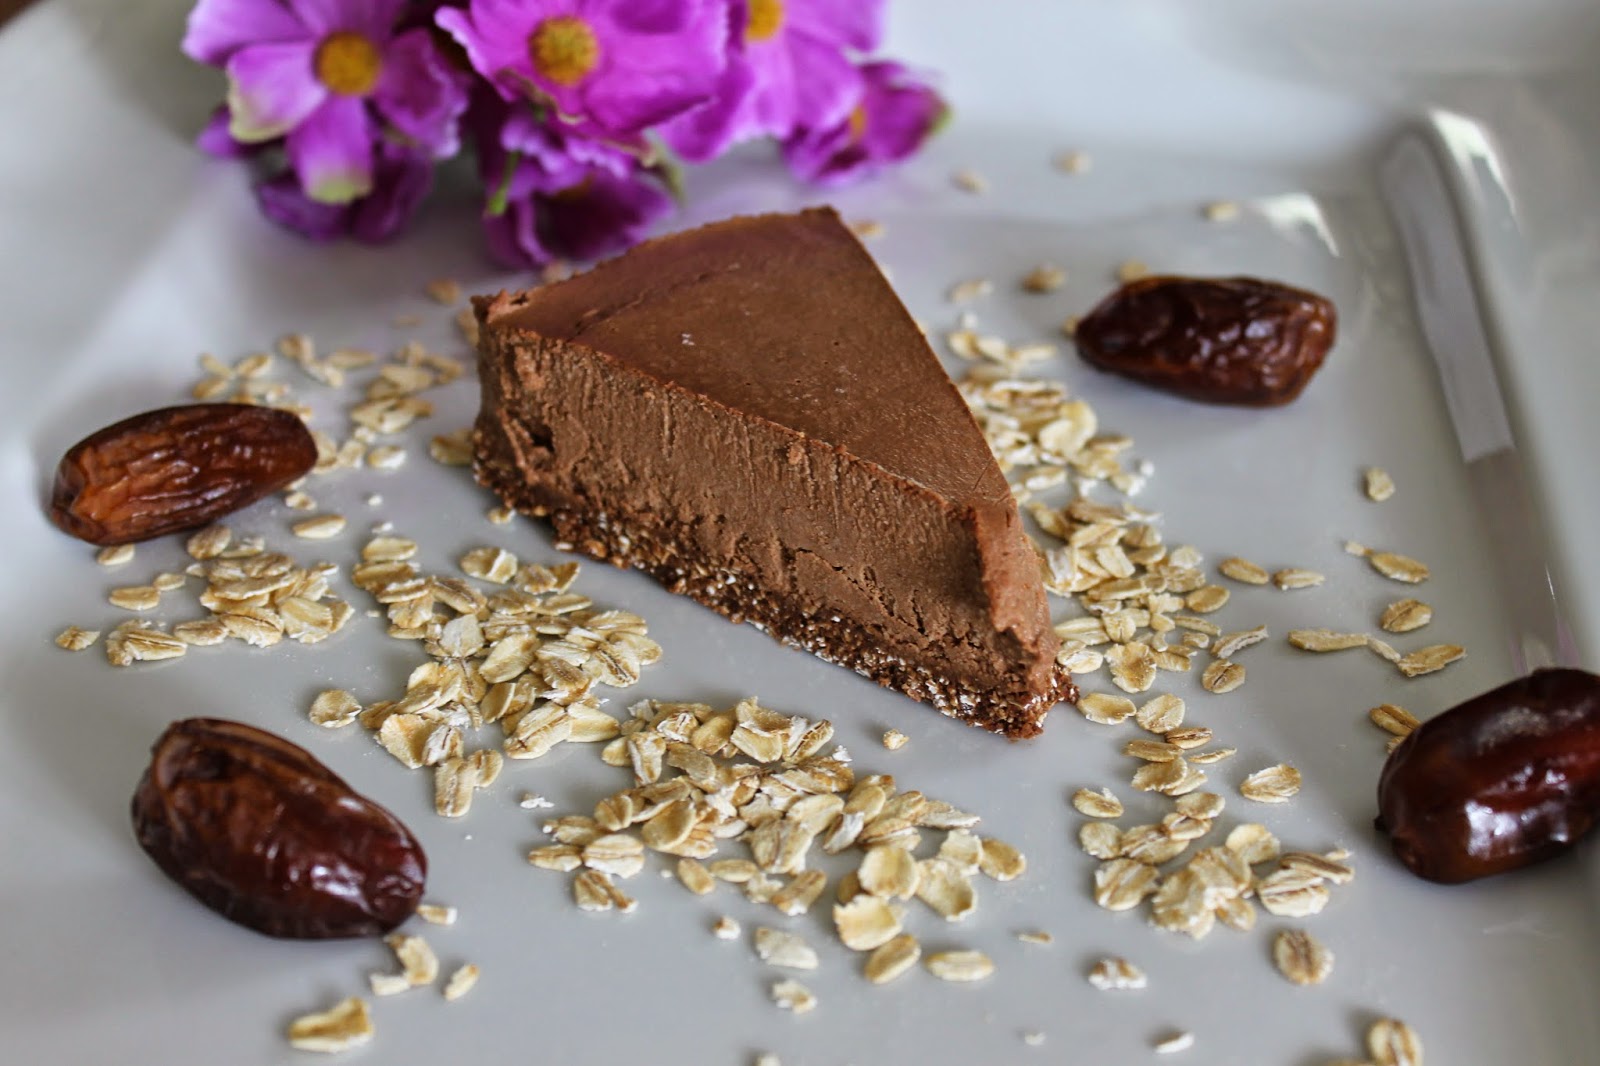
Vegan Chocolate Cheesecake
I (Georgia) love cheesecake, but I can no longer eat dairy. So disappointing! It used to be one of my favorite desserts. Ashley on the other hand never really cared for cheesecake. We are happy to say that we finally found a cheesecake she likes! It just happens to be vegan and gluten-free!
Here are the ingredients you will need: maple syrup, lemon juice, olive oil, cocoa powder, coconut milk, chocolate chips, dates, raw cashews, and oats. There aren't too many ingredients and it is super easy and quick. Just make sure you remember to soak your cashews so that they blend easily.
We also soaked our dates for a few minutes if they aren't super soft to make them easier to blend when you make the crust. If you are worried about making this dessert entirely gluten-free, make sure you buy certified gluten-free oats. A lot of oats are processed in the same facilities as wheat which causes cross-contamination.
What we like about this vegan cheesecake is that it doesn't have to be kept in the freezer like most of the other recipes we have been able to find. It can be kept in the refrigerator and is able to sit at room temperature without starting to melt.
You can find the recipe at Minimalist Baker.
We hope you try and love this recipe as much as we do!
Monday, May 11, 2015
Flourless Brownies
We have a family member who cannot eat gluten so we are always looking for flourless or gluten-free baked goods. These brownies were absolutely delicious! They are definitely for chocolate lovers!
The edges of these brownies are chewy while the insides are fudgy and delicious. We think that these are the closest to boxed brownies that we have tried yet, and they are super easy to make.
The only thing we thought would make these brownies better is if the recipe made more, but this can be fixed by doubling the recipe!
The recipe calls for semi-sweet chocolate chips, but you could easily substitute milk chocolate chips if you are not a fan of darker chocolate, or, if you love dark chocolate, you could use dark chocolate chips.
We change the original recipe a little by using butter in place of the coconut oil and cornstarch in place of the arrowroot powder.
The recipe comes from Running with Spoons.
We hope you love these brownies as much as we did! How often do you bake gluten-free or flourless? We do it every now and then, but we hope we can start doing more of it! Let us know if you try these brownies!
Monday, April 27, 2015
Root Beer Cake
Have you ever tried coca-cola cake? We haven't tried it yet but we did try root beer cake! I don't know how it compares to coca-cola cake, but it sure was delicious!
The frosting is by far our favorite part! Next time we make brownies, we are going to use this frosting on top of them because we think it will be amazing!
We didn't detect much of a root beer flavor but the root beer made the cake soft and moist.
For this recipe all we did was use root beer in place of the coca cola in this recipe by Brown Eyed Baker. If you haven't checked out her blog yet, we definitely suggest that you do! It is full of delicious looking recipes.
Let us know if you try this recipe! We hope you love it as much as our friends did! You can find us on Twitter, Instagram, and Bloglovin.
Sunday, April 19, 2015
Brown Sugar Cookies-Take 2!!
The first time we made these cookies, we added chocolate chips to them and thought they were absolutely delicious! We thought we would make the chocolate chip version of these cookies but with a little twist....
We added Nestle Toll House's Delight Fulls!!
Here is a picture of our browned butter. I (Georgia) think that brown butter smells good (like nutty caramel), but Ashley doesn't like the way it smells... She says it "smells gross."
Doesn't it look so good? This is a picture of the butter, brown sugar, and eggs all mixed together.
We simply mixed in the baking morsels after the flour was mixed into the dough and it worked like a charm. We were a little afraid that the mixer would break the morsels and they would no longer resemble chocolate chips, but i guess they are stronger then they look! Using the mixer worked like a charm and saved our arms from a good workout!
We don't know if we can say these ones are better then the ones without the chocolate chips, but we can definitely say that they sure are scrumptious!
When we went to the store they had mini Oreos on sale for a dollar, so we thought we would try making Oreo stuffed brown sugar cookies. We think they are pretty good! We took out some dough before adding the baking morsels and covered a few mini Oreo with it. Then we baked them like normal. Speaking of Oreos, Have you tried the lemon ones yet? They are so delicious and, in our opinion, are one of the best kinds of Oreos!
Let us know on Twitter or Instagram if you try these!! If you do, we hope you love them!
Tuesday, April 14, 2015
Lemon Cake Pops
It has been a long time since we have tried cake pops because we have had so much trouble with them when we tried the first couple of times. The chocolate cracked and ran down the sticks on a couple of the cake pops. Not this time though! These ones turned out great! These cake pops are lemon with white chocolate coating.
We started with a 9x13 inch lemon cake and crumbled it up into a bowl. Then we added 3/4 a pound of lemon frosting and mixed it all up so that there were no chunks of cake or frosting. We then rolled them into balls using about a tablespoon of the cake/frosting mixture. We froze them for about 15 minutes and then put them in the fridge while we prepared the white chocolate.
When we melted our white chocolate we added a little paraffin wax to it in order to make the chocolate thinner and easier to dip the cake pops in.
When we dipped the cake pops, we dipped the sticks into the chocolate so that it was covered on about half an inch of the end. Then we stuck that stick into the cake ball then dipped the ball into the chocolate. Let some of the chocolate run off before you let the chocolate set. We stuck our cake pops into Styrofoam so that they could harden while standing up.
The awesome thing about cake pops is that you can make them any flavor you want. All you have to do is change the type of cake and/or frosting you use. You can use any kind of chocolate to dip them in or you can use the colored candy melts. They are also very cute and you can make them as fancy or plain as you want to.
Have you ever made cake pops? Did you find them easy? Our cake pops were easy this time, but we have definitly had our troubles with them. Let us know on Twitter or Instagram if you make cake pops! We would love to see how yours turn out! We hope you will give them a try!
Sunday, April 5, 2015
Easter Brownies!!
Happy Easter!!! We are going to Church and getting together with family to celebrate. Our family never has a traditional Easter meal with a ham and everything (we never have traditional meals for holidays.. lasagna at thanksgiving and Greek at Christmas). We really don't mind the anti-traditional meals of our family since we don't care too much for ham or turkey.. does that make us weird? Any way, we made gluten-free, vegan (we made them not vegan by putting buttercream on them) brownies to take to our get together. We have been wanting to give vegan brownies a try and one of our family members cannot eat gluten at the moment because of a health issue, so no better time like the present!
We ground our own oat flour using our food processor. This is actually really easy to do. You can see little chunks of oats in our brownies. This is just because our oats didn't go long enough in the food processor to make them flour consistency. The oat chunks actually give the brownies a kind of chewy texture that we enjoy.
We were a little skeptical when we tried these brownies given that they are gluten free and vegan (without the frosting), but they are delicious!!
We used a grass tip to frost the grass and Reese's eggs to decorate them.
This would look just as cute on cupcakes or even a cake! Let us know how it turns out if you try it!
The recipe that we give you here was adapted from this recipe.
Ingredients:
1/2 cup packed light brown sugar
1/2 cup raw sugar (only if you want them to e completely vegan)
1 cup unsweetened applesauce
1 tbs ground flaxseed plus 1 tbs water (mix together first and put in the fridge until you are ready to use it)
1/4 cup plus 2 tbs unsweetened almond milk
1 1/2 tsp vanilla
1 1/2 tsp apple cider vinegar
1 1/2 cups oat flour
3/4 cup cocoa powder
1 tsp baking soda
1/2 tsp salt
Directions:
- Preheat oven to 375 degrees Fahrenheit
- Combine the sugars and applesauce. Beat in the flaxseed/water mixture, almond milk, vanilla, and vinegar.
- Combine all of the dry ingredients in a separate bowl. Gradually add to the sugar/applesauce mixture.
- Pour into a parchment paper lined 9x13 inch pan (you can also use a nonstick pan, but we have only tried the parchment paper method)
- Bake for 16-20 minutes or until the a toothpick inserted into the middle comes out clean.
Monday, March 30, 2015
Lemonade Cookies
Who's ready for spring? We definitely are! One thing that is great in the spring is sitting out in the sunshine, reading a good book, and drinking lemonade. So lemonade cookies seemed like the perfect spring cookie.
These cookies were delicious and would be perfect to take on a spring picnic or just to eat as a snack on a spring afternoon. Not only are they delicious, but they are really easy to make and it doesn't have very many ingredients either. Everything you need can be seen in this picture:
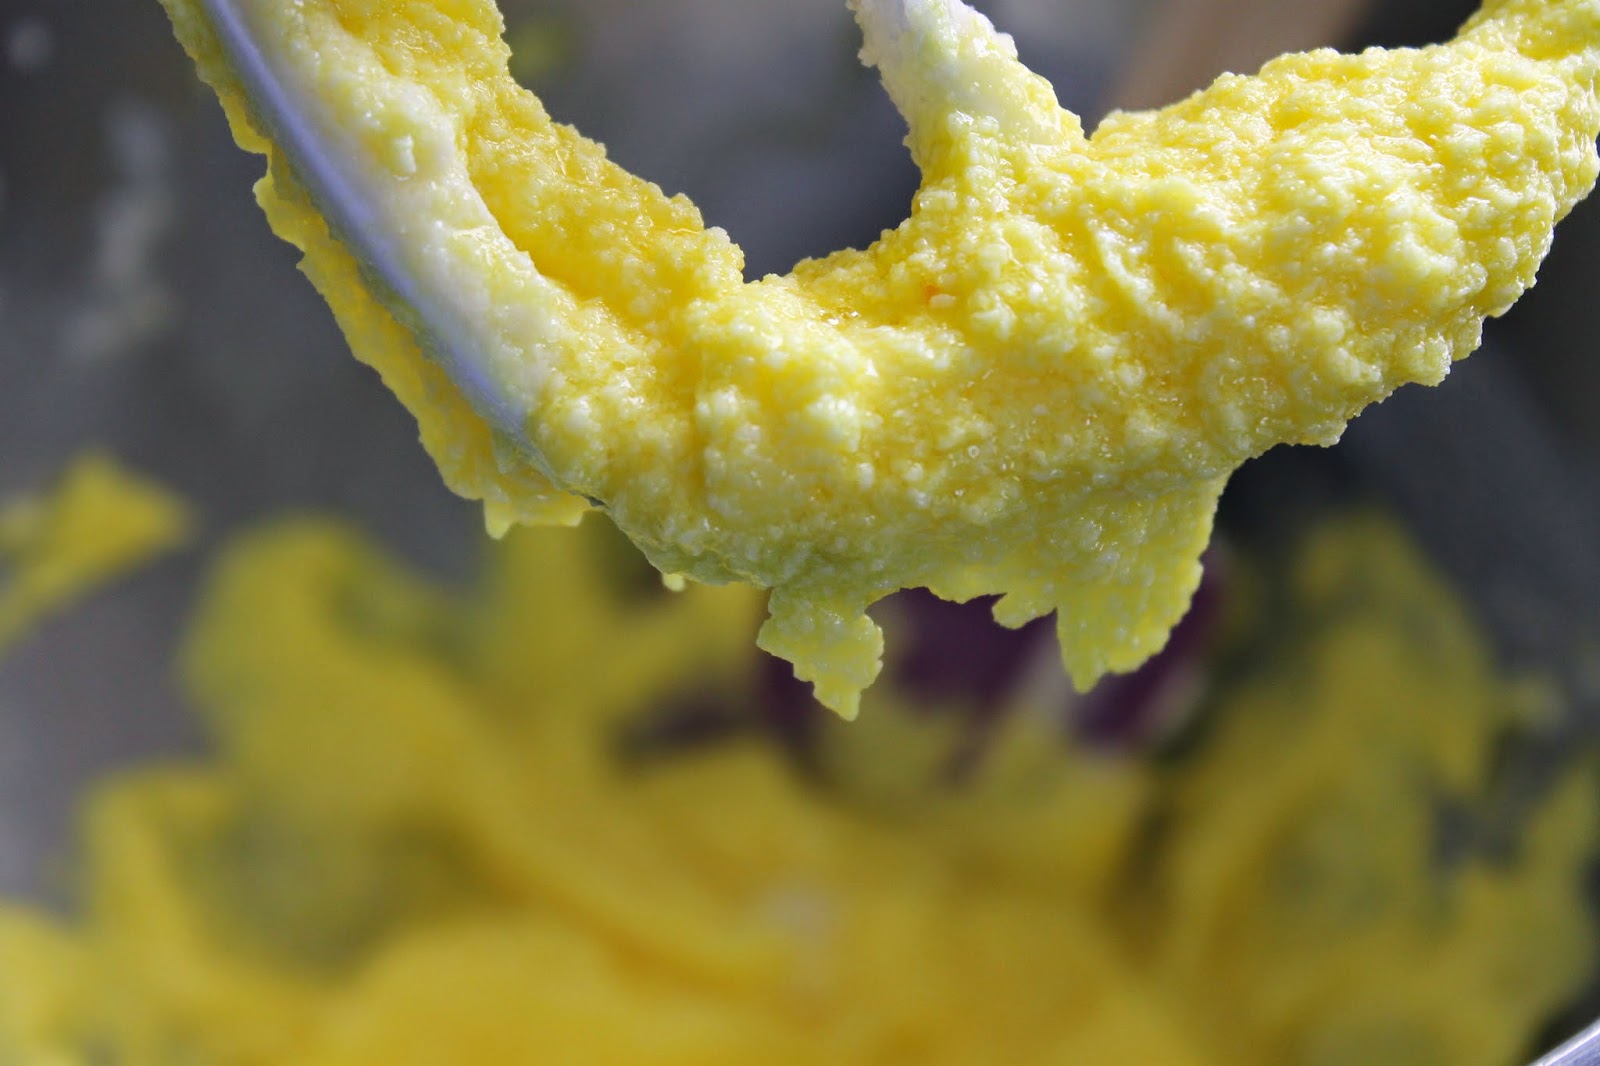
Below is a picture of the creamed butter and sugar and eggs:
After adding the eggs, we added some yellow food coloring, just to make the cookies have that yellow color that is normally associated with the lemon flavor, so after adding in the food coloring, here is what the batter looked like:
After adding in the flour, the batter did become a little bit less yellow,but it still looked pretty yellow:
Below are some pictures of the cookies. We were going to take these pictures outside in a little picnic scene which would have been super cute, but it decided to be a nice and warm 38 degrees outside. Needless to say, we took the pictures inside. :)
Lemonade Cookie recipe:
- 1 cup butter, softened
- 1 cup sugar
- 2 eggs
- yellow food coloring
- 3 cups all-purpose flour
- 1 tsp baking soda
- 1/3 cup thawed lemonade concentrate
- 1/2 cup thawed lemonade concentrate (to brush on top)
- powdered sugar (to dust on top)
- Cream butter and sugar until light and fluffy. Add eggs, one at a time, beating well after each addiction. Add yellow food coloring and mix well.
- Combine flour and baking soda. Add to the butter/sugar mixture alternately with the 1/3 cup lemonade concentrate, beating well after each addition.
- Drop by tablespoonfuls onto ungreased cookie sheet. Bake at 400 degrees Fahrenheit for 8 minutes. Remove from oven and transfer to a wire rack. Brush with lemonade concentrate. Sprinkle with remaining sugar. Cool and enjoy!
Recipe slightly adapted from Taste of Home.
What is your favorite part about spring? We love the flowers and warmer weather!
Let us know in the comments below or on instagram if you tried this recipe!
Subscribe to:
Posts (Atom)