Tuesday, January 6, 2015

Chocolate Crinkle Cookies


Today was the first snow of winter here! We were excited because although cold (very cold), snow can be so pretty. So, we decided to take a walk through the woods and take some pictures. Unfortunately, we didn't see any animals (except one bird) on our walk, so we couldn't get any pictures of animals, but we did get some pictures of the woods and path that we were on:


Above is just a picture of the path that we walked on. Below is a picture of some railroad tracks that go through the woods and that we thought were pretty. We got so many pictures while we were out, but since this is a baking blog, we won't share them all, just these two.


Anyway, onto the cookies. Our grandma(who just retired, yay!) gave us the recipe for these cookies because she had them and thought they were delicious and thought that we might like them too. As soon as she gave it to us, we wanted to make them (of course!).


This recipe is basically like a brownie recipe that you refrigerate for a couple hours or overnight (at least that's what it tasted like!). We refrigerated ours overnight. Once it is done refrigerating, you take about a tablespoon of the batter, cover it with powder sugar and then roll it into a ball. When we first read this recipe we thought that it was weird that it says to roll the batter into a ball after it was in the powder sugar, but this actually works really well. When you roll it into a ball, you pack the powder sugar onto the ball.


When they come out, they look like this! Depending on how much powder sugar you put onto them, depends on how white they are hen they come out of the oven.


The cookies in the pictures are the ones that had the most powder sugar on them because we thought that they looked better than the others. However, they both tasted delicious. It just depends on how you would like your cookies to look when they are done baking.


We loved the way that these cookies looked! We also thought that the powder sugar looked like snow (or maybe we were just excited about the freshly fallen snow outside!) What do you think, does it look like snow? What is your favorite thing to do on cold snowy days? Ours favorite activity is baking!! 
Our bloglovin link:
 <a href="http://www.bloglovin.com/blog/13433891/?claim=jq89vd587k7">Follow my blog with Bloglovin</a>


Thursday, January 1, 2015

Brownies

Looking for the perfect brownie recipe? This post is to show you our method of making brownies to give you a new way to try and create the perfectly fudgy brownie.

First, aren't theses spatulas awesome?!? Our brother got one for each of us for Christmas. We love that they say our name so we don't have to argue over which spatula belongs to whom (not that that we would argue over such things.....)

Back to yummy goodness (otherwise known as brownies). The first thing we do for our brownies is to mix boiling water and cocoa powder. A smooth mixture is important here because no one likes clumps of cocoa powder in their brownies....
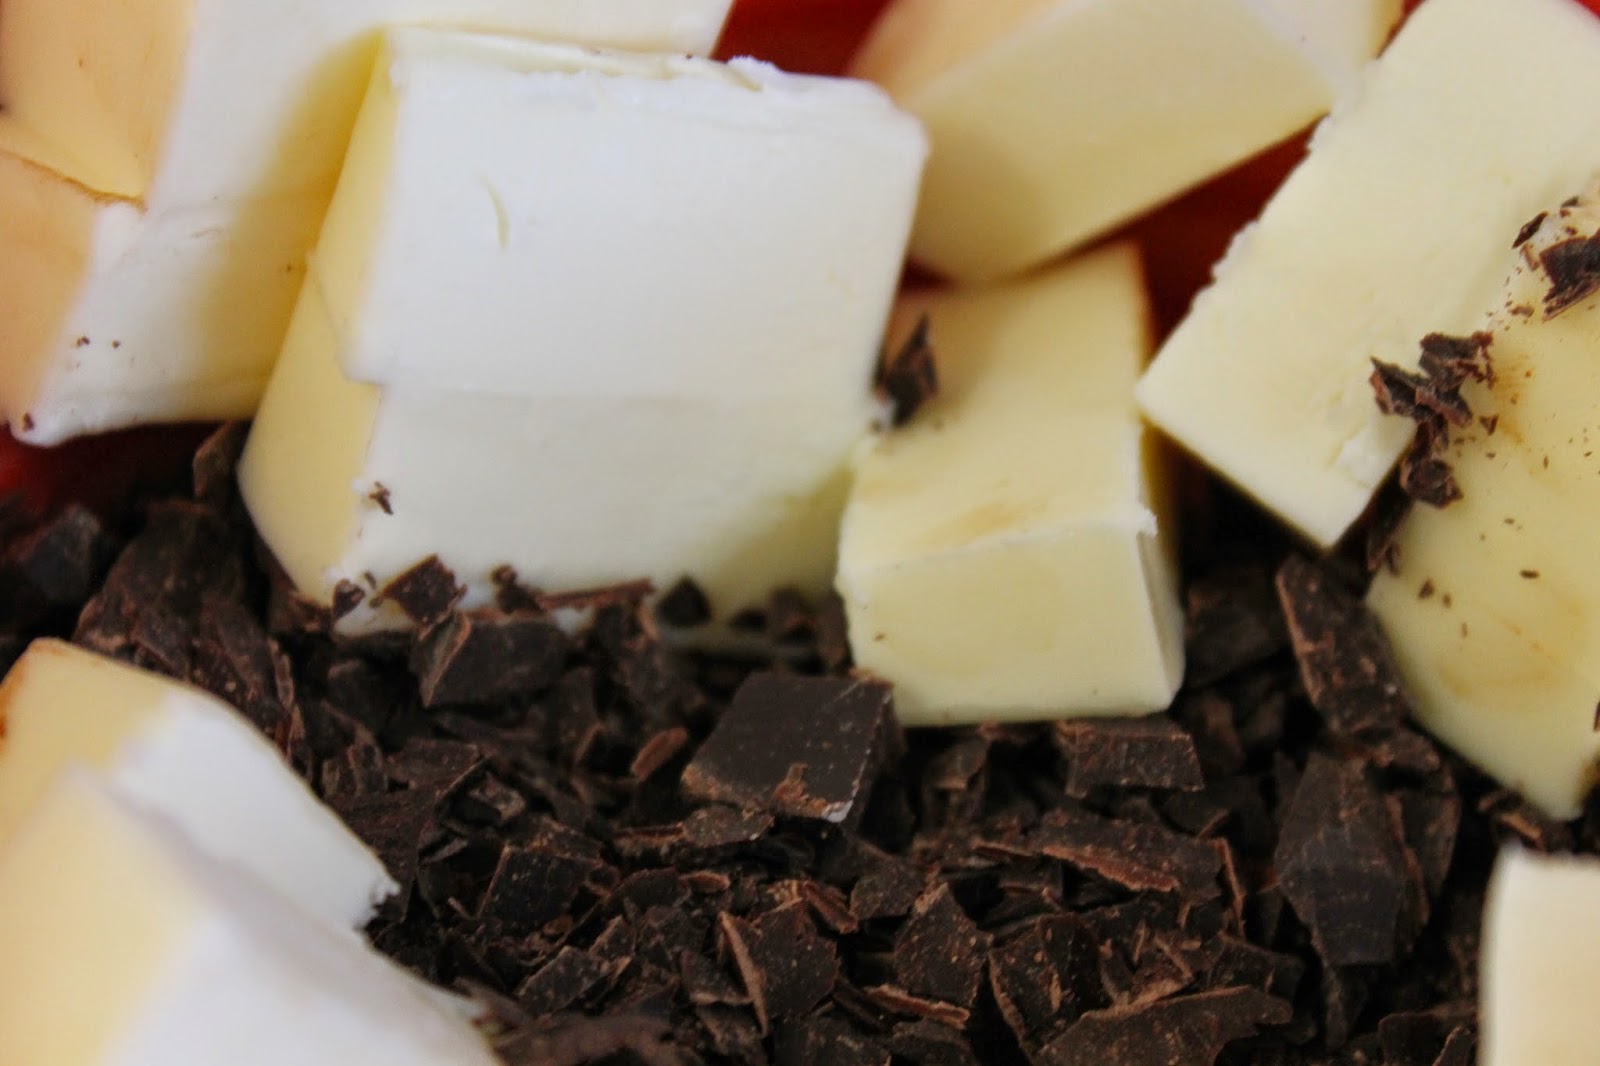
Next, we melt the butter and unsweetened chocolate. I (Georgia) actually thought it would be a good idea to taste test this mixture. I don't recommend this. It taste like liquid cocoa powder.... not good. Anyway, this mixture should be smooth as well. A microwave or double boiler would work, but if you use the microwave check your chocolate periodically to make sure it doesn't burn. Burnt chocolate does not taste good. I can only imagine how this would taste burnt.....
Now, we add the melted butter/chocolate mixture to the cocoa/water mixture and whisk them together. Next,the vegetable oil and vanilla are whisked in.
 Now, we whisk in what makes all brownies pure awesomeness!!!(aka sugar) Whisk until it is smooth, again.
The recipe we used when we made our brownies called for brown sugar. This is the first time we have ever seen brown sugar in a brownie recipe. The brown sugar helps make the brownies moist (we learned this from Sally's Baking Addiction which is an awesome blog full of great recipes).
Next, you whisk in the eggs one at a time. Our recipe calls for 2 whole eggs and one egg yolk. The extra egg yolk adds moisture and richness to the brownies.
Your mixture should now look like this... smooth, creamy, and yummy.
Surprisingly, the brownie recipe we made uses whole wheat flour!!! No one could tell and they tasted just like a normal brownie. 
Now, you fold the flour and salt into the chocolate mixture to make pure chocolate heaven goodness in a bowl!! If the batter didn't have raw eggs in it, we would devour the entire bowl of batter!! ( we would probably be sick afterward, but it might be worth it...) We don't use our kitchen aid to mix the batter so that we don't accidentally over mix the batter.
We then fold in chocolate chips. There is never such a thing as too chocolaty!!!
Finally, the batter goes into a pan!! I might be a good idea to line the pan with parchment paper. We just sprayed the pan because we didn't have any parchment paper. This did not work for us...
Almost done!!! Smooth the top of the brownie batter and pop into the oven and bake. Of course the last step is to sample the batter left on your spatula and in your bowl to make sure it tastes okay. :)

The method we outline here seems to make brownies that are very similar to the boxed brownies that everyone craves. They have a wrinkly, crunchy top, chewy edges, and a fudgy center. The recipe that we used for these pictures came from the blog Fork Knife Swoon. We usually use a recipe that makes a 9x13 inch pan and follows the exact same method, but we wanted to try a new recipe. This recipe tasted absolutely delicious, but ours stuck to the pan and became brownie crumbles. :(  We were supposed to take them to a New Years Eve party, but we couldn't show up with nothing and couldn't take brownie crumbles! So, we did what any sane person would do and added more chocolate by making brownie balls and dipping them in chocolate. They were very rich and chocolaty, but everyone loved them! 


Cinnamon Rolls

Cinnamon rolls are so delicious! However making them can  be quite a pain.Most cinnamon roll recipes require a lot of time to rise, but we have a quick recipe for you here! Cinnamon rolls have always been a tradition on Christmas morning for our family, but we never had time to make them in the morning, so we always just bought the canned kind in the refrigerated section of the store. That is until we found this recipe, so read on and learn how to make these delicious cinnamon rolls!


These cinnamon rolls are so easy to make!Okay, to make these cinnamon rolls, just get out your favorite homemade biscuit recipe. Yup, just a biscuit recipe, its that easy! We prefer to use a buttermilk biscuit recipe or a flaky biscuit recipe, but that is the great thing about this, you can use whatever recipe you want. Next, make your dough, and roll it out. We rolled our dough out semi-thin.


 Then, make a mixture of cinnamon and brown sugar. When we did this we didn't measure this mixture, we just mixed some together, so this mixture should just be to your liking. We made ours with more brown sugar than cinnamon, and we recommend this as well, because it makes a delicious cinnamon roll. Set this mixture to the side.


 Next, melt a couple tablespoons of butter and brush a generous amount of butter onto the rolled out dough. Now sprinkle a lot of the brown sugar and cinnamon mixture onto the dough. Now, this is what is going to make your cinnamon rolls delicious. So, make sure to use a lot of this mixture. We thought we had used to much, but it turned out that we had used plenty. Then, roll it up, cut it, and put it into the pan you want to use to bake these in. Then, bake them according to the directions on your biscuit recipe.

When they come out you can make a glaze for them or eat them plain, either way they are delicious! Enjoy, and let us know how yours turned out!

Thursday, December 25, 2014

What did we bake for Christmas?

We hope you had an amazing Christmas. We certainly did. We saw lots of family that we don't see regularly throughout the year and made sure we spent lots of time hanging out with everyone! After all isn't love what Christmas is all about? It is easy to get wrapped up in all of the giving and receiving that it is easy to forget what Christmas is all about: Jesus's Birthday!


On to what we made for Christmas this year. Every year, we pass out tins full of Christmas goodies. This is what our tins had in them this year (there is a picture of what the inside of a tin looks like at the end) :
 Here we have yummy caramels. We attempted to make these last year and they were extremely hard because we cooked them too long. :( Not this year! :) Our caramels were chewy and delicious. The key is to take your time and not cook the caramels at too high of a temperature. It is very easy to surpass the temperature you want if the heat is too high. 
We went a little crazy with the pictures.......
 But we liked all of these and couldn't leave one out. :)


 Now we have scrumptious granola! We put slivered almonds, coconut, and raisins in our granola this year. We used honey as our liquid sweetener. 
 The great thing about granola is that it is totally customizable. Just choose what you want and toss it in the bowl. We have also made this granola with sunflower seeds instead of almonds. We have also put in ground flax seeds. 


 We thought our delicious pumpkin cookies would be a wonderful addition to out Christmas tin. The frosting on these cookies is a brown sugar frosting and is totally yummy!
This is a picture of a few of the cut out cookies that we made this year. Every year we make a ton of cut-out cookies and decorate each one differently. This is so much fun and a wonderful way to spend time as a family. Plus, the cookies feel that much special because each one is unique. We use royal icing as our frosting, but we have also used butter cream. 

These last two pictures are of a finished tin. Each one is packed full of yummy goodness and love!
Everyone who got a tin also got a loaf of homemade bread.


Merry Christmas and Thank You for reading!!! 
What was your favorite part of Christmas? 
What was your favorite gift?
Let us know in the comments below, tweet us, or let us know on Instagram!!


Tuesday, December 16, 2014

Nestle Toll House Prizes

Well, today, Christmas came early! We got home today to a nice big package waiting for us, and what do you know, it was the prizes that we won in the Nestle Toll House competition on Instagram! If you don't follow us on Instagram, we post pictures of all the delicious things that we bake! Anyway, in the Nestle Toll House competition, we won the third place prizes. Everything is great and we can't wait to use all of it. As soon as we opened it we wanted to use it, but alas we couldn't tonight!


The picture above is of a silicone baking mat. We have always wanted one of these, but we never actually went out and bought one. So, we definitely can't wait to bake cookies with this and test it out.


This is a cake plate for presenting decorated cakes. You can probably use it for any other kind of dessert that you would like. The next time that we make a cake, we are definitely going to be using this!


This is a cupcake corer. This is used to take out the middle of the cupcake so that you can fill it with jams and other yummy goodness.


This amazing tool(AKA a cookie scoop) will give you uniform sized cookies, and we have actually been needing a new one of these, so we are excited about this one!


Silicone Cupcake liners. Re-usable cupcake liners, what?!? We had no idea that these existed, does that make us bad bakers??? They seem pretty awesome to us and we cant wait to test them out and see what they are all about.


A Nestle Toll House towel and apron. Both of these are really cute, and quite frankly, don't need any explanation. :) 


A new cookie sheet. We have also been needing a new one of these, so we are super grateful for this one.  


A brownie pan!! This one is nifty. Have you ever seen a pan like this? You put the brownie batter into the pan and then you put the other piece (we don't know what you would call it) on top and bake it. When the brownies are done, they are already cut and uniform in size! It also came with a lid for easy transporting of your delicious brownies. 

Last, a cake carrier. It came with a piece that had 12 spots for regular sized cupcakes but when flipped over, has 24 spots for mini cupcakes, or you can not use that piece and simply use it to carry a regular cake.

We are so excited to use each and every one of our new baking supplies!!! We are going to be doing a lot of baking in the near future to test out all of these great items!


Monday, December 15, 2014

Red Velvet Cupcakes!!!!

Today, December 15th, is National Cupcake Day!!!! How did you celebrate??? We celebrated by making Red Velvet Cupcakes!! This is the first time that we have ever made them! It takes a lot of red food coloring, and we actually didn't have enough, so we used what we had, which was almost the right amount. The cupcakes turned out great anyway!


We used buttercream frosting instead of the normal cream cheese frosting, and it was still delicious!


We decided to make the frosting green since it's almost Christmas and we thought that it would be a really cute combination! We got really picture happy, so there are a lot of pictures here, but we had fun! so, here are some more pictures of the cupcakes:


I don't know if you noticed what the cupcakes are sitting on, but they are on a cutting board. We just got it and we thought that it would make a cute place for the cupcakes to sit on for their mini photo shoot :)

Sunday, December 14, 2014

Morning Glory Muffins!!!

These muffins are absolutely delicious! We have been juicing a lot lately and didn't want to waste the pulp that was left over, so we decided to mix it into a muffin (Muffins are one of our favorite breakfast foods). Of course, all of the butter and sugar in baked goods aren't the healthiest so we decided to "healthify" these muffins a little bit. 
 We started with a Morning Glory Muffin recipe from our King Arthur Cookbook. The first modification we made was to replace half of the all-purpose with oat flour( we made our own by grinding old-fashioned oats in a food-processor until it was fine like flour). We replaced the carrot called for in the recipe with the pulp from the juicer. We then decided to replace the vegetable oil with healthier fats. We replaced half of the oil with peanut butter and the other half with coconut oil(I am sure all peanut butter would work and would be scrumptious).  When I went to add the eggs, we realized that we were short by one, so we searched the web and found that 1/4 cup of applesauce would replace one egg. It worked wonders.

These muffins really hit the spot! They have so much flavor and are filling, too!We hope you try them and love them.
Recipe adapted from Morning Glory Muffins from King Arthur All-Purpose Baking Cookbook.
Ingredients:

  • 1 cup oat flour
  • 1 cup all-purpose flour
  • 3/4 cup sugar
  • 2 tsp baking soda
  • 2 tsp cinnamon
  • 1/2 tsp ground ginger
  • 1/2 tsp salt
  • 2 cups grated carrot(or left-over pulp from juicing)
  • 1/2 cup sunflower seeds (ours turned green after baking for some reason but still taste the same....) 
  • 2 large eggs 
  • 1/4 cup applesauce
  • 1/3 cup coconut oil, melted
  • 1/3 cup peanut butter
  • 2 tsp vanilla extract
Directions:
     Preheat the oven to 375 degrees. In a large bowl, whisk together both flours, sugar, baking soda, spices, and salt. Add the carrots(or pulp), sunflower seeds. In a different bowl, beat eggs, applesauce, coconut oil, peanut butter, and vanilla extract. Add to flour mixture and stir just until evenly combined. Scoop into muffin cups, and bake for 20 minutes. Cool for 5 minutes, then take out of the pans to cool the rest of the way.

Check out our You Tube video here