Monday, February 9, 2015

Homemade Peppermint Patties

Our oven is being a little temperamental and only works about half of the time (we have no idea what is wrong with it). So this week, we made another candy recipe (and will be making candy until our oven is fixed!). This weeks recipe is much harder (almost impossible) to mess up but is so darn delicious!

It tastes so much like a store bought peppermint patty, but even better we think! As little kids, our great Aunt would set peppermint patties out in little candy dishes, so every time we would go to her house, we would eat as many as we could, and then smuggle more home with us (we still smuggle them out when we go over). Obviously we could go and buy our own, but it's more fun to just steal them from our great Aunt. (by the way I'm pretty sure she always knew we stole them and didn't care, but as kids we didn't know that).


Then, to our great delight, our Grandma started to put them out, so we ate those (and smuggled them) every time we went over. So when we were looking for candy to make, these were the obvious choice!


Why heart shaped peppermint patties? Valentines day is coming up, so heart shaped would look cute around this time! We think that these patties are the perfect way to say "I love you" to your sweetheart this valentine season.


As you can tell from these pictures, our peppermint patties aren't perfectly smooth and covered with chocolate, but we think that it is cute how each one is a little bit different then the others.


We found this recipe on Pinterest and we hope that you enjoy it as much as we do! What are you making for valentine's Day this year?

Ingredients:
  • 2 1/2 cups powdered sugar, divided
  • 1 1/2 Tablespoons light corn syrup
  • 1 Tablespoon +2 teaspoons water 
  • 1/2 teaspoon peppermint extract
  • 1 Tablespoon coconut oil (or vegetable shortening)
  • 10 ounces bittersweet chocolate chips or 10 ounces bittersweet chocolate, coarsely chopped
  • 1-2 teaspoons coconut oil (or vegetable shortening)
Directions:

    1. In the bowl of a stand mixer, combine 2 1/4 cups powdered sugar, corn syrup, water, peppermint extract, and coconut oil. Beat on medium speed until just combined. If mixture is too dry, add a few drops of water at a time until mixture begins to come together.
    2. Using some of the remaining 1/4 cup of powdered sugar, dust your work surface. Remove the peppermint mixture from your bowl and place on the powdered sugar. Knead the mixture until it is smooth.
    3. Roll your peppermint mixture between two pieces of parchment paper, until it is about 1/8-1/4 inch thick. Transfer the peppermint mixture to the freezer and allow to freeze for at least 15 minutes.
    4. After 15 minutes, remove your peppermint mixture from the freezer. Remove the first piece of parchment paper and dust the peppermint mixture with powdered sugar, replace the parchment paper. Flip the peppermint mixture and repeat with the other piece of parchment paper.
    5. Take your 1-inch cookie cutter and cut as many rounds or squares as you can. Transfer them to a parchment lined cookie or baking sheet. Re-roll the remaining peppermint mixture and repeat the process. Once you have cut as many patties as you can, place them in the freezer. Allow them to freeze for at least 45 minutes.
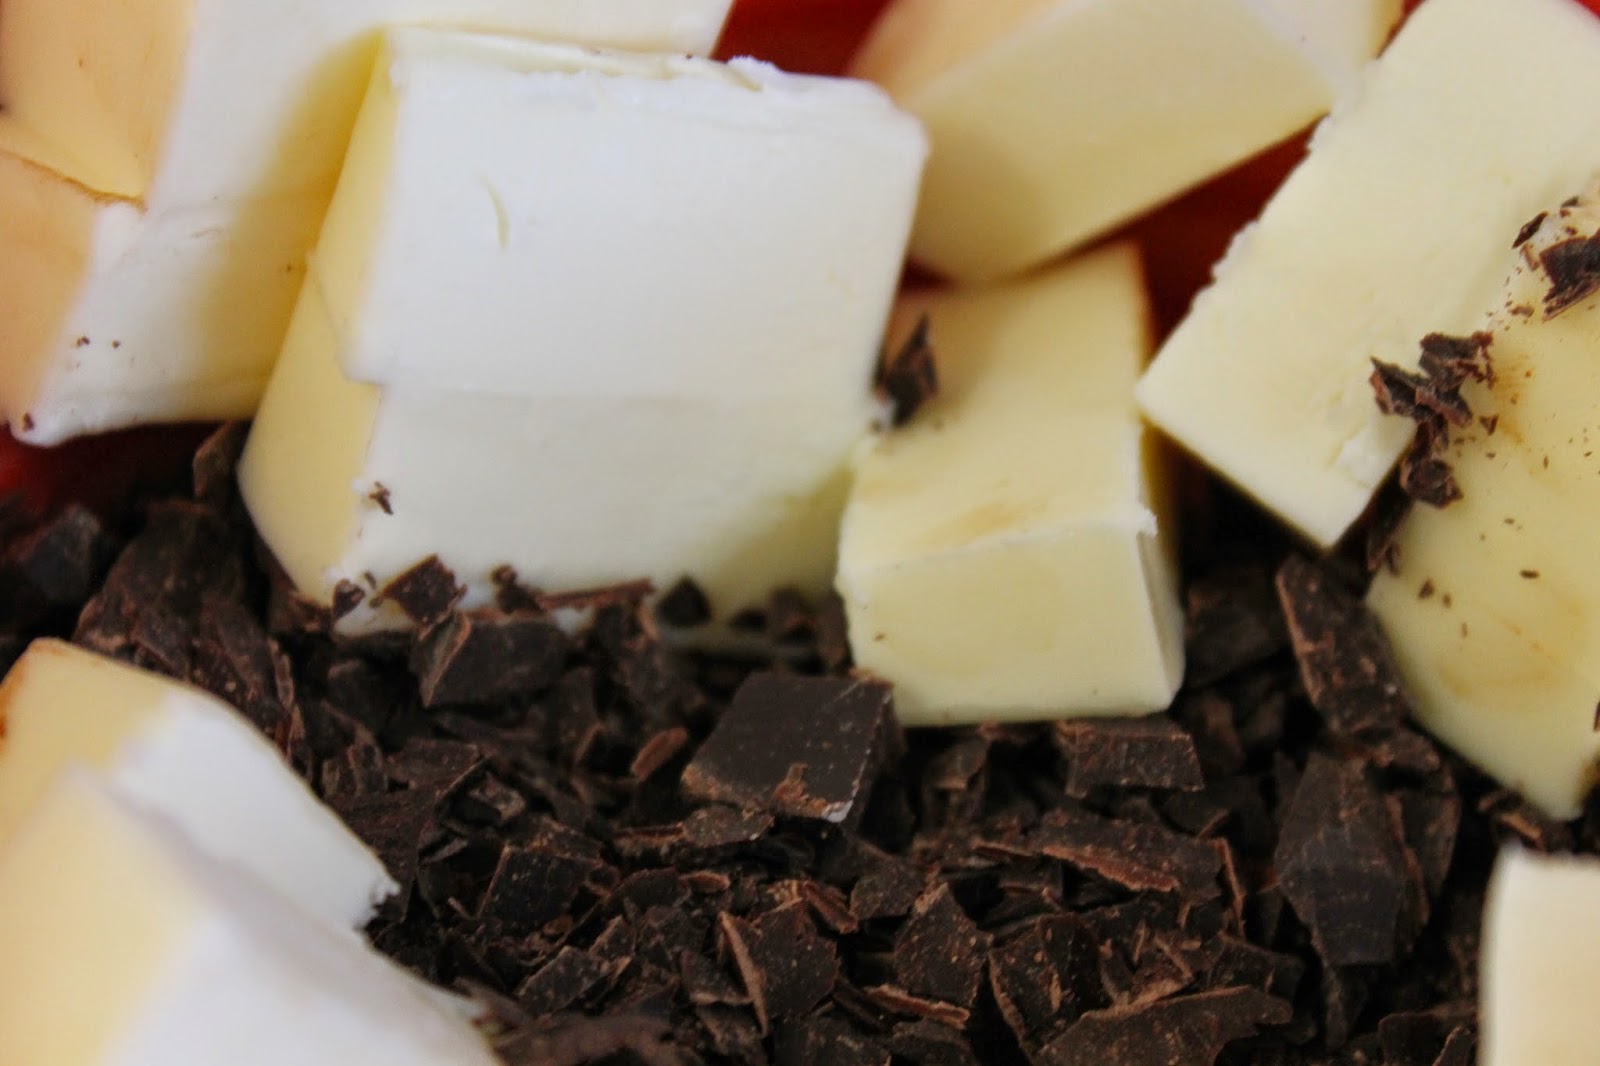
    6. Place coconut oil and chocolate in a medium sized microwave safe bowl. Microwave 30 seconds on high, remove from microwave and stir. Return to the microwave and microwave in 10-15 second increments, stirring each time. Continue until chocolate is completely melted.
    7. Remove peppermint patties from the freezer. Working with one patty at a time, place the patty in the melted chocolate. Using a fork, flip the patty to coat it on all sides. Allow the excess chocolate to drip off. Place peppermint patty back on the parchment lined baking sheet. Repeat with the remaining patties. Once completed with all peppermint patties, place baking sheet back in the freezer or refrigerator. Once chocolate has set completely, place peppermint patties in an air-tight container and keep in the refrigerator or freezer.

    Monday, February 2, 2015

    Peanut Brittle

    Since we succeeded in making caramels at Christmas (yay!), we thought it might be a good time to venture into the scary world of candy making... Courage in hand and lessons learned (at first we had the increments on our candy thermometer wrong so we way over cooked our caramel!), we opened up the candy book we got last year for Christmas(we have only made the caramel recipe because we don't want to mess it up) and found the recipe for peanut brittle. Here is the delicious and addicting result!
     This peanut brittle could not be easier! We made it twice and didn't mess up either batch (amazing since we have a terrible time with any kind of candy making).
     Be sure to spread it when you pour it into the pan. Our first batch turned out a little thicker than most peanut brittle.
                                          
    We have an old fashioned candy thermometer where telling the temperature is a little bit of guess work and a little bit of talent. An instant read, digital candy thermometer would be nice to have. 
     We also made this recipe with pecans (our favorite nut). It tasted even better than the peanut brittle! The pecans turn all toasty and really shine through! This is definitely a pecan lovers delight. We love to go through the bag and pick out the pieces with the most amount of nuts. :) 

     The recipe we used comes from a book called Chocolates and Confections. It was written be Peter Greweling who, at the time of its publication in 2010, is a professor at the Culinary Institute of America. Here is the recipe that turned the candy illiterate into candy makers: 

    Ingredients:
    • 1 lb (2 cups) sugar
    • 1/2 cup water
    • 1 cup light corn syrup
    • 1 lb (3 cups) unsalted whole peanuts or coarsely chopped pecans*
    • 1 tsp salt
    • 2 Tbsp Butter, soft
    • 1 1/2 tsp vanilla extract
    • 1 1/2 tsp baking soda
    Directions:
    1. Lightly oil a 10x15-inch pan (we used a cookie sheet with sides. We have no idea what size it is....). Lightly oil an offset palette knife.
    2. Combine the sugar, water, and corn syrup in a 4-quart saucepan. Bring to a boil, stirring constantly with a heat resistant rubber spatula. Cover and boil for  minutes.
    3. Remove the cover, insert a thermometer, and cook without stirring to 240 degrees Fahrenheit.
    4. Add the peanuts and cook while stirring to 320 degrees Fahrenheit, or until the batch is light brown.
    5. Remove from the heat; mix in the salt, butter, vanilla, and baking soda thoroughly. 
    6. Pour onto the prepared pan and spread to the edges using the oiled palette knife.
    7. Allow to cool to room temperature. Break into desired sized pieces (and don't cut yourself on the sharp edges after it breaks like Ashley did....) Store sealed in an airtight container.
    What's your favorite kind of candy to make? What candy should we try next?


    Monday, January 26, 2015

    Pumpkin Muffins

    After weeks of craving muffins, we finally made some over the weekend. We had a can of pumpkin puree in our cupboard from when it went on sale, so we decided on making pumpkin muffins! These muffins are soft and moist and very delicious!
     Not only are these muffins delicious, they are healthy too! These pumpkin muffins are perfect for breakfast or a quick afternoon snack.
     We don't normally put nuts in our baked goods, but walnuts in pumpkin muffins is so delicious. We figured this out from a trip to a local vegan bakery where we bought the best pumpkin muffin we have ever tasted! If you prefer your muffins without nuts, feel free to leave them out or sprinkle them on top.  
     We found the original recipe for these on Pinterest, but played with the ingredients to make them a super healthy snack. Look at the recipe below to see what we came up with!

    Ingredients:

     1 1/2  cups whole wheat flour
    1 tsp pumpkin pie spice
    3/4 tsp baking powder
    1/2 tsp baking soda
    1/2 tsp salt
    2 large eggs
    3/4 cup canned pumpkin
    1 cup unsweetened applesauce
    6 Tbs maple syrup (1/4 plus 2 Tbs)
    1/3 cup chopped walnuts

    Directions:
    1. Preheat oven to 350 degrees fahrenheit. Line a muffin pan with paper baking cups or spray with oil (we used silicone baking cups). 
    2. In a large bowl, stir the whole wheat flour, pumpkin pie spice, baking powder, baking soda, and salt together. Make a big well in the center of your dry ingredients and add the eggs, pumpkin, applesauce, and maple syrup. Stir until just combined. Add the chopped walnuts and stir until just incorporated. Fill your muffin pan cups with batter.
    3. Bake for 20-22 minutes, or until the tops spring back lightly when touched (like a cake). Cool in pan then devour! 

    What is your favorite kind of muffin? Where did you get the best muffin you have ever tasted?


    Monday, January 12, 2015

    Homemade Granola!!

    Did you know that January is National Oatmeal Month?!? We didn't know that it existed until a couple of days ago, so we thought we would share it with you! Since oatmeal isn't the most thrilling thing to make, we thought we would share something a little more exciting and delicious: Granola!!
     Granola is so delicious, crunchy, and versatile. It can be used in yogurt, as breakfast cereal, by the handfuls, etc.... There are so many ways to eat granola. Homemade granola is so much better than the store bought kind. Once you try it, you will never go back especially if you make this recipe! Store-bought granola is full of oil and refined sugars that just aren't necessary.

     The amazing thing about granola is that  it is so easy to change to your liking. Don't like raisins? Add dried cranberries! Allergic to nuts? Skip them! There is an endless array of different things you can do with granola!
     We love the big, yummy clumps of granola that are so crunchy and tasty! If you are like us, you might want to consider adding an egg white to your granola. It sounds weird, we know, but it helps make those delicious chunks! Stirring your granola as little as possible will help keep those chunks as well.
    Enough talking! Lets make some granola!

    Ingredients:
    • 4 cups old-fashioned oats*
    • 1/2 cup slivered almonds (or whatever nut sounds good to you, we often use sunflower seeds)
    • 1/4 cup unsweetened coconut (or sweetened, if you like sweeter things)
    • 1/4 cup ground flaxseeds (if you don't have this you can just omit, it won't do any harm)
    •  1 cup honey**
    • 1 1/2 T vanilla
    • 1/2 cup Raisins (or whatever dried fruit you want)
    Directions:
    1. Preheat the oven to 300 degrees Fahrenheit.
    2. Combine oats, almonds, ground flaxseeds and coconut in a large mixing bowl.
    3. In a small bowl or measuring cup, mix together honey and vanilla.
    4. Pour the honey mixture over the oat mixture and stir until all oats are covered in honey.
    5. Spread onto a cookie sheet  and bake for 40 minutes. Stir the granola once after 20 minutes.
    6. Place the pan on a cooling rack until completely cooled. 
    7. Add the raisins to the granola and mix. We usually keep our granola in a food storage bag.
    *You can change the amount of oats, nuts, and dried fruit, as long as it equals 5 cups.
    **Half of the honey can be replaced with applesauce if you want granola that is a little lower in sugar. We have never tried it, but we think that pumpkin would be a good replacement too! If you try it, let us know how it works and if it is delicious! Also, you can replace the honey with pure maple syrup which is also very good.

    What is your favorite granola combo?
    Since it is national oatmeal month, what is your favorite way to eat oatmeal? 
    Ashley's favorite way is brown sugar and maple syrup. My (Georgia) favorite way is with peanut butter and dried fig slices! (It might sound weird but it is delicious!)
    Let us know in the comments below or on instgram or twitter (@twinbakers96)


    Thursday, January 8, 2015

    Macroons

    Macarons? Macaroons? (We have seen it both ways...) However you spell them we think they are delicious! We have been wanting to make these for a while, but we haven't attempted them yet for a couple reasons. 1) They are quite difficult to perfect! 2) The recipe we used called for almond flour, which isn't the cheapest thing to buy and we didn't want to waste the flour by messing up the macarons. 


    We finally decided to make them despite these reasons. So, we headed to the store to get some almond flour (which was on sale, yay!). When we checked out, the almond flour rang up as regularly priced (at $11.50), so we asked about it and we ended up getting the flour for only about $4. What?? Ya, we don't know how it worked either, but we aren't complaining! So happily we headed home to try making our macaroons.


    The recipe that we used came from a cookbook that we have, but is a lot like the recipe that Martha Stewart has on her website, which we will link here. The only difference is that our recipe doesn't call for the cream of tartar.


    We were so excited to try these. What flavor should we make them? There are so many options! (Chocolate, Raspberry, Pistachio,etc..) We decided to go with a strawberry buttercream in the middle. For the center we just made a buttercream frosting and added some homemade strawberry jam that we had in place of the milk that our recipe calls for. We didn't flavor the actual cookies, but left them plain (otherwise we would have made them chocolate!). We also didn't color them, which is a possibility if you want to try that, but we thought that white a pink would look cute.


    For our first try we thought that they turned out pretty well. However, we aren't claiming that we made perfect macaroons on our first try! In fact most of our macaroons cracked. We did some research on why our macaroons cracked. There are so many different reasons!! The possible reasons are overmixing, undermixing, not letting them rest, or too hot of an oven. We weren't discouraged though, because that just means that we get to make them again! Let us know how your macaroons turn out and what flavor you make!


    Check out our YouTube video on how to make these here

    Tuesday, January 6, 2015

    Chocolate Crinkle Cookies


    Today was the first snow of winter here! We were excited because although cold (very cold), snow can be so pretty. So, we decided to take a walk through the woods and take some pictures. Unfortunately, we didn't see any animals (except one bird) on our walk, so we couldn't get any pictures of animals, but we did get some pictures of the woods and path that we were on:


    Above is just a picture of the path that we walked on. Below is a picture of some railroad tracks that go through the woods and that we thought were pretty. We got so many pictures while we were out, but since this is a baking blog, we won't share them all, just these two.


    Anyway, onto the cookies. Our grandma(who just retired, yay!) gave us the recipe for these cookies because she had them and thought they were delicious and thought that we might like them too. As soon as she gave it to us, we wanted to make them (of course!).


    This recipe is basically like a brownie recipe that you refrigerate for a couple hours or overnight (at least that's what it tasted like!). We refrigerated ours overnight. Once it is done refrigerating, you take about a tablespoon of the batter, cover it with powder sugar and then roll it into a ball. When we first read this recipe we thought that it was weird that it says to roll the batter into a ball after it was in the powder sugar, but this actually works really well. When you roll it into a ball, you pack the powder sugar onto the ball.


    When they come out, they look like this! Depending on how much powder sugar you put onto them, depends on how white they are hen they come out of the oven.


    The cookies in the pictures are the ones that had the most powder sugar on them because we thought that they looked better than the others. However, they both tasted delicious. It just depends on how you would like your cookies to look when they are done baking.


    We loved the way that these cookies looked! We also thought that the powder sugar looked like snow (or maybe we were just excited about the freshly fallen snow outside!) What do you think, does it look like snow? What is your favorite thing to do on cold snowy days? Ours favorite activity is baking!! 
    Our bloglovin link:
     <a href="http://www.bloglovin.com/blog/13433891/?claim=jq89vd587k7">Follow my blog with Bloglovin</a>


    Thursday, January 1, 2015

    Brownies

    Looking for the perfect brownie recipe? This post is to show you our method of making brownies to give you a new way to try and create the perfectly fudgy brownie.

    First, aren't theses spatulas awesome?!? Our brother got one for each of us for Christmas. We love that they say our name so we don't have to argue over which spatula belongs to whom (not that that we would argue over such things.....)

    Back to yummy goodness (otherwise known as brownies). The first thing we do for our brownies is to mix boiling water and cocoa powder. A smooth mixture is important here because no one likes clumps of cocoa powder in their brownies....
    Next, we melt the butter and unsweetened chocolate. I (Georgia) actually thought it would be a good idea to taste test this mixture. I don't recommend this. It taste like liquid cocoa powder.... not good. Anyway, this mixture should be smooth as well. A microwave or double boiler would work, but if you use the microwave check your chocolate periodically to make sure it doesn't burn. Burnt chocolate does not taste good. I can only imagine how this would taste burnt.....
    Now, we add the melted butter/chocolate mixture to the cocoa/water mixture and whisk them together. Next,the vegetable oil and vanilla are whisked in.
     Now, we whisk in what makes all brownies pure awesomeness!!!(aka sugar) Whisk until it is smooth, again.
    The recipe we used when we made our brownies called for brown sugar. This is the first time we have ever seen brown sugar in a brownie recipe. The brown sugar helps make the brownies moist (we learned this from Sally's Baking Addiction which is an awesome blog full of great recipes).
    Next, you whisk in the eggs one at a time. Our recipe calls for 2 whole eggs and one egg yolk. The extra egg yolk adds moisture and richness to the brownies.
    Your mixture should now look like this... smooth, creamy, and yummy.
    Surprisingly, the brownie recipe we made uses whole wheat flour!!! No one could tell and they tasted just like a normal brownie. 
    Now, you fold the flour and salt into the chocolate mixture to make pure chocolate heaven goodness in a bowl!! If the batter didn't have raw eggs in it, we would devour the entire bowl of batter!! ( we would probably be sick afterward, but it might be worth it...) We don't use our kitchen aid to mix the batter so that we don't accidentally over mix the batter.
    We then fold in chocolate chips. There is never such a thing as too chocolaty!!!
    Finally, the batter goes into a pan!! I might be a good idea to line the pan with parchment paper. We just sprayed the pan because we didn't have any parchment paper. This did not work for us...
    Almost done!!! Smooth the top of the brownie batter and pop into the oven and bake. Of course the last step is to sample the batter left on your spatula and in your bowl to make sure it tastes okay. :)

    The method we outline here seems to make brownies that are very similar to the boxed brownies that everyone craves. They have a wrinkly, crunchy top, chewy edges, and a fudgy center. The recipe that we used for these pictures came from the blog Fork Knife Swoon. We usually use a recipe that makes a 9x13 inch pan and follows the exact same method, but we wanted to try a new recipe. This recipe tasted absolutely delicious, but ours stuck to the pan and became brownie crumbles. :(  We were supposed to take them to a New Years Eve party, but we couldn't show up with nothing and couldn't take brownie crumbles! So, we did what any sane person would do and added more chocolate by making brownie balls and dipping them in chocolate. They were very rich and chocolaty, but everyone loved them!